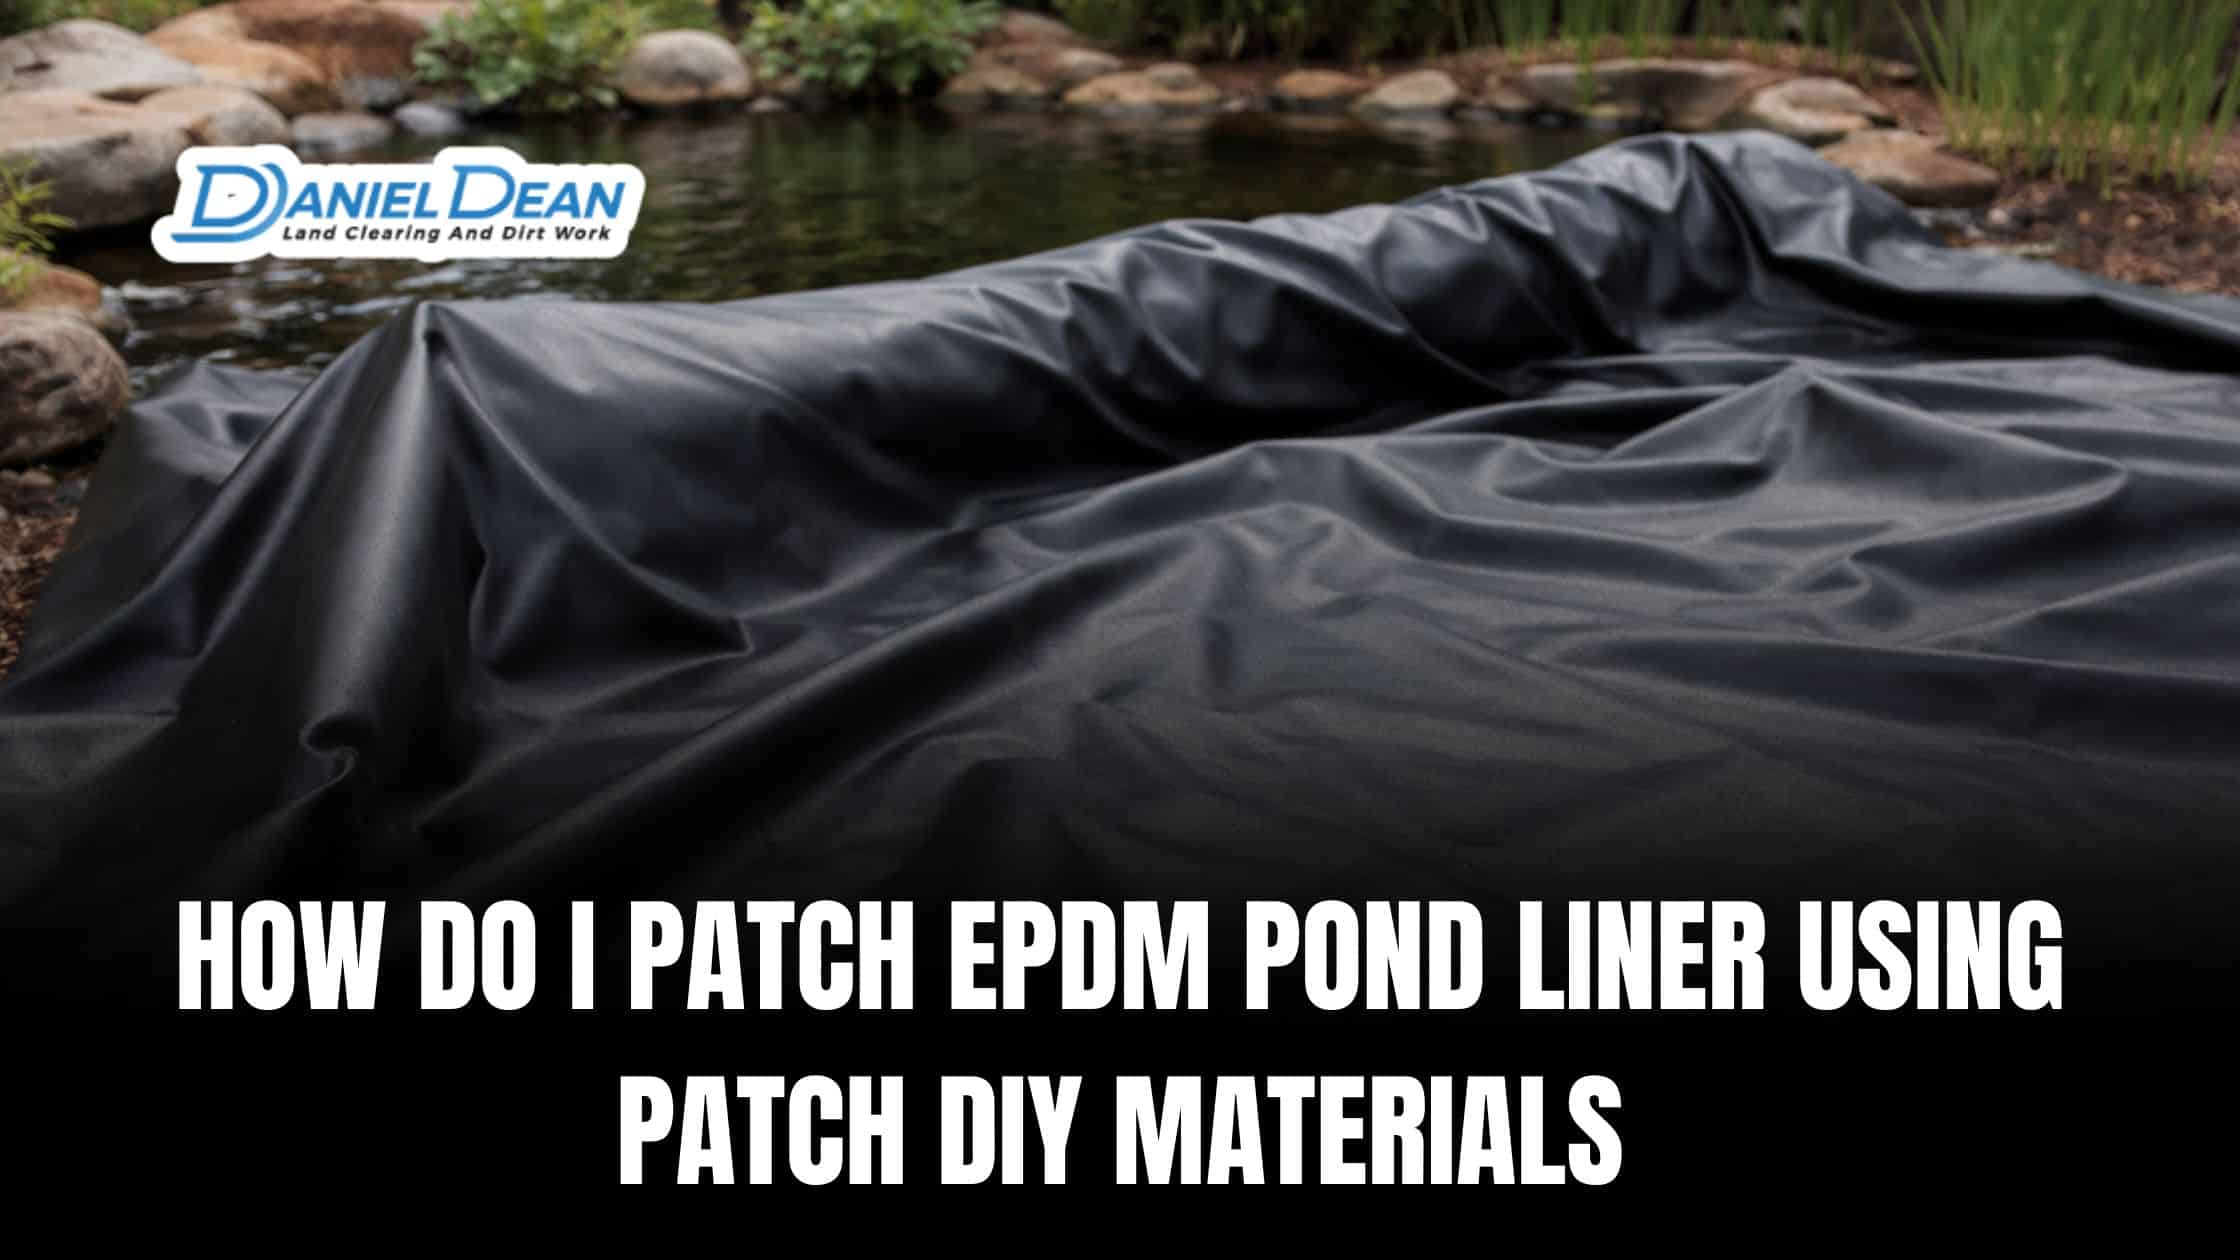
Have you noticed your pond water level dropping and started asking how do i patch epdm pond liner before the leak causes bigger problems?
Pond owners often struggle to tell whether water loss comes from normal evaporation or from hidden liner damage that keeps getting worse. A healthy pond can lose one to two inches of water each week due to wind and humidity alone, yet studies show that nearly 60% of liner leaks come from external causes like animal claws, shifting rocks during winter freezes, or invasive roots.
These issues leave many people unsure how to approach pond liner repairs or whether a patch kit for pond liners will actually hold. In this blog post, you will learn how to identify real leaks, understand what causes EPDM liner damage, and apply DIY patch methods correctly. The guide also explains when a pond builder may be the better option, helping you protect your pond and avoid repeated repairs.
Identifying the Leak and Assessing Damage Severity
Successful pond liner repairs depend on finding the exact failure point, not guessing based on water loss alone. When pond owners ask how do i patch epdm pond liner, the real challenge often lies in locating damage that hides under rocks, folds, or plumbing components. EPDM liners fail most often at stress zones where pressure, movement, or abrasion occurs, so inspection must focus on how the pond functions, not just where water disappears.
- Lower the water one to two inches per day and stop once the level stabilizes, then inspect the liner at that exact elevation since leaks almost always sit at or just below that line
- Remove nearby rocks or gravel at the stabilized waterline because weight and shifting frequently cause pin punctures beneath decorative features
- Flex liner folds by hand while the area stays wet to reveal hairline splits that only open under tension
- Inspect around skimmers, waterfalls, and pipe boots where sealant failure allows water to escape behind the liner
- Use a dye test near suspected areas to confirm active leaks rather than cosmetic surface marks
- Check the underside of exposed liner edges for animal claw marks or root intrusion pushing upward from below
After locating the damage, evaluate whether a patch kit for pond liners can provide a lasting fix. Clean round punctures and short linear tears usually patch well when the rubber remains flexible. Cracking, surface chalking, or multiple weak spots signal liner fatigue. In those cases, repeated patching often fails, and a pond builder may recommend sectional replacement instead of temporary pond liner repairs.
Preparing the EPDM Surface for a Reliable DIY Patch

Proper surface preparation is the foundation of any successful DIY pond liner repair, and it is key to answering how do i patch epdm pond liner that will actually last. EPDM rubber naturally resists adhesives, so even a clean-looking liner can prevent a patch from sticking if oils, algae, or biofilm remain. Most failed pond liner repairs happen because people skip drying, do not remove microscopic debris, or apply patches over weak rubber. The goal is to create a surface that is clean, dry, slightly roughened, and fully stable so that the patch kit for pond liners forms a permanent bond.
| Preparation Step | How to Do It | Expert Insight |
| Remove debris and sediment | Gently lift rocks or gravel and use a soft nylon brush to remove dirt and sediment | Avoid metal brushes which can scratch the liner, creating weak points for future leaks |
| Eliminate algae, slime, and biofilm | Apply water and scrub the surface repeatedly until the liner no longer feels slippery | Use a flashlight at low angles to detect thin biofilm that is invisible in normal light |
| Rinse completely | Use a gentle stream of water to wash away loosened particles | Pressure washers can create micro-tears in EPDM, weakening the repair area |
| Thorough drying | Pat dry with a lint-free towel, then air dry for at least 30 minutes | Even small moisture pockets trapped under the patch can lead to adhesion failure within days |
| Surface abrasion | Lightly scuff the liner using 80–120 grit sandpaper, focusing 2–3 inches beyond the damaged area | Do not sand too aggressively; over-sanding can reduce liner thickness and create a weak patch base |
| Remove sanding residue | Wipe down with a clean, dry cloth to remove dust | Ensures the adhesive has full contact with the rubber, critical for long-lasting adhesion |
| Inspect rubber integrity | Press and flex the liner gently to check for cracks, brittleness, or chalking | If the EPDM shows signs of aging or brittleness, a pond builder may advise partial replacement rather than repeated pond liner repairs |
Proper preparation addresses common hidden issues that lead to patch failure. For instance, small air bubbles or trapped moisture under a DIY patch are often the result of insufficient cleaning or incomplete drying. Light abrasion creates a mechanical grip that strengthens the chemical bond of adhesives in a patch kit for pond liners, increasing the repair’s resistance to water pressure, freeze-thaw cycles, and sunlight exposure. Following these steps carefully ensures your patch not only seals the leak but extends the overall lifespan of your pond liner, avoiding repeated and costly repairs.
Applying DIY Patch Materials Correctly for a Strong Seal
Choosing the right materials is critical for ensuring a DIY patch holds under constant water pressure and environmental stress. Many pond owners use a patch kit for pond liners because these kits include EPDM-compatible rubber, adhesive, and sometimes primer designed for underwater or partially submerged applications.
Using the wrong materials or applying the patch incorrectly often leads to peeling or leaks, even after careful surface preparation. A strong seal requires precision during patch cutting, adhesive application, and curing.
Step 1: Cut and Prepare the Patch
Cutting and shaping the patch correctly ensures long-lasting adhesion. Measure the damaged area and allow at least one inch of overlap on all sides. Rounded corners are essential, as sharp edges tend to lift first when water pressure pushes against the patch. Inspect the patch for any nicks, folds, or irregularities, as these imperfections can create weak points. If you are using a patch kit for pond liners, make sure the material matches your EPDM liner in thickness and flexibility. This reduces stress at the edges and ensures the adhesive bonds evenly across the entire patch.
Step 2: Apply Primer and Adhesive
Applying primer and adhesive properly determines whether the patch becomes a permanent seal.
- Apply primer to both the patch and the prepared liner surface if your patch kit instructions require it. Avoid excess primer pooling.
- Spread the adhesive evenly over the primer on both surfaces. Make sure edges are fully coated.
- Press the patch onto the liner and smooth out any air bubbles from the center outward. Air pockets create potential leak points.
- Apply steady pressure using a roller, board, or clean hand until the adhesive begins to set.
Even coverage and proper pressure ensure the adhesive forms a strong, waterproof bond that can withstand water pressure and liner movement.
Step 3: Curing and Testing
Once the patch is applied, curing is essential for a durable repair. Follow the manufacturer’s recommended curing time precisely, which may range from 15 minutes to several hours depending on the adhesive. Avoid disturbing the patch during this period, as any shifting can compromise the bond. After curing, slowly refill the pond and observe water levels for at least 24 hours. Inspect the patch edges for lifting or seepage. If the patch shows signs of failure, clean the surface again and reapply the adhesive carefully. Proper curing and testing prevent repeated pond liner repairs and help maintain the long-term integrity of your pond.
Expert Pond Maintenance and Leak Prevention Solutions
DIY pond repairs offer clear convenience, especially for small leaks, minor punctures, or isolated liner damage. Simple fixes allow pond owners to act quickly, control costs, and avoid draining the entire pond. For many situations, learning how do i patch epdm pond liner helps stop water loss fast and keeps the pond functional while preventing short term damage. Basic pond liner repairs using a patch kit for pond liners can work well when the liner remains flexible and the damage stays limited.
However, repeated DIY repairs often hide deeper issues that raise long term maintenance costs. Small leaks may signal underlying liner fatigue, shifting stonework, or plumbing stress that patches alone cannot resolve. Over time, stacking multiple patches can weaken surrounding material, increase the chance of new leaks, and make future repairs more complex. These situations often lead to higher expenses than addressing the root cause early.
Hiring a professional pond builder offers long term advantages that DIY repairs cannot provide:
- Accurate diagnosis of liner, plumbing, and structural issues
- Long lasting repair methods or targeted liner replacement
- Preventive maintenance plans that reduce future leaks
- Design adjustments that improve water flow and liner protection
For reliable pond maintenance and lasting leak prevention, Daniel Dean Pond Services delivers expert evaluations and customized solutions.
Schedule a consultation with Daniel Dean to protect your pond investment and avoid recurring repair costs.
Frequently Asked Questions
How to patch EPDM pond liner?
To patch EPDM pond liner correctly, first locate the exact leak and lower the water below the damaged area. Clean and dry the liner thoroughly, then lightly scuff the surface to improve adhesion. Cut an EPDM patch with at least one inch of overlap on all sides, round the corners, and apply primer and adhesive if required by your patch kit. Press the patch firmly, remove air bubbles, and allow full curing before refilling the pond.
How to repair a punctured pond liner?
Repairing a punctured pond liner works best when the rubber remains flexible and intact. Clean the area around the puncture, dry it completely, and inspect for hidden cracks. Use an EPDM compatible patch kit, apply adhesive evenly, and seal the puncture with steady pressure. Small punctures usually seal well when prepared correctly, making DIY pond liner repairs effective.
How to splice an EPDM liner?
Splicing an EPDM liner involves bonding two liner sections together using seam tape or splice adhesive designed for EPDM rubber. This process requires precise cleaning, priming, alignment, and pressure. Because splicing affects structural integrity, many pond owners choose a professional pond builder for reliable long term results.
Final Thoughts on How Do I Patch EPDM Pond Liner
Understanding how do i patch epdm pond liner helps pond owners take fast action when leaks appear and avoid unnecessary water loss. This guide explained how to identify leaks accurately, prepare the EPDM surface properly, and apply DIY patch materials that support durable pond liner repairs. When damage stays limited and the liner remains flexible, a quality patch kit for pond liners can extend the life of your pond.
The next step is ongoing inspection. Monitor water levels, check stress areas, and address minor issues early. If leaks persist or patches begin to stack, professional evaluation often prevents higher long term costs. As an experienced pond builder, we help identify structural causes that DIY repairs cannot solve.
For expert pond maintenance, leak prevention, land clearing, and related services, contact Daniel Dean to discuss your needs. Reach out through our contact page to ask questions or schedule a consultation.